Free tracked 24H UK shipping on all orders over £50
Any lash tech worth their name knows that applying lash extensions is a serious business that requires skills, precision and a steady hand. One of the most important skills is how to safely and quickly remove the lashes afterwards, protecting the skin around the eye and the natural lash underneath.
As you walk your clients through aftercare once the initial application has been made, it is important to make sure that your clients are aware of the for removing them at home and know that when it comes time for a break to allow the natural lash to breath, coming back to you to get them removed is key to making sure their natural lashes remain healthy and strong.
Understanding the risks of lash extension removal, the correct tools to use and how to remove each lash extension without causing injury or irritation is needed in any lash tech’s arsenal. In this guide, Silk Touch Lashes will walk you through the correct steps to remove lashes.
Step-by-Step Guide to Safely Remove Lash Extensions
Lash extension remover
As the name suggests, lash extension remover dissolves the glue that holds the extensions to your natural lashes, helping you remove them without irritating or harming the natural lashes beneath.
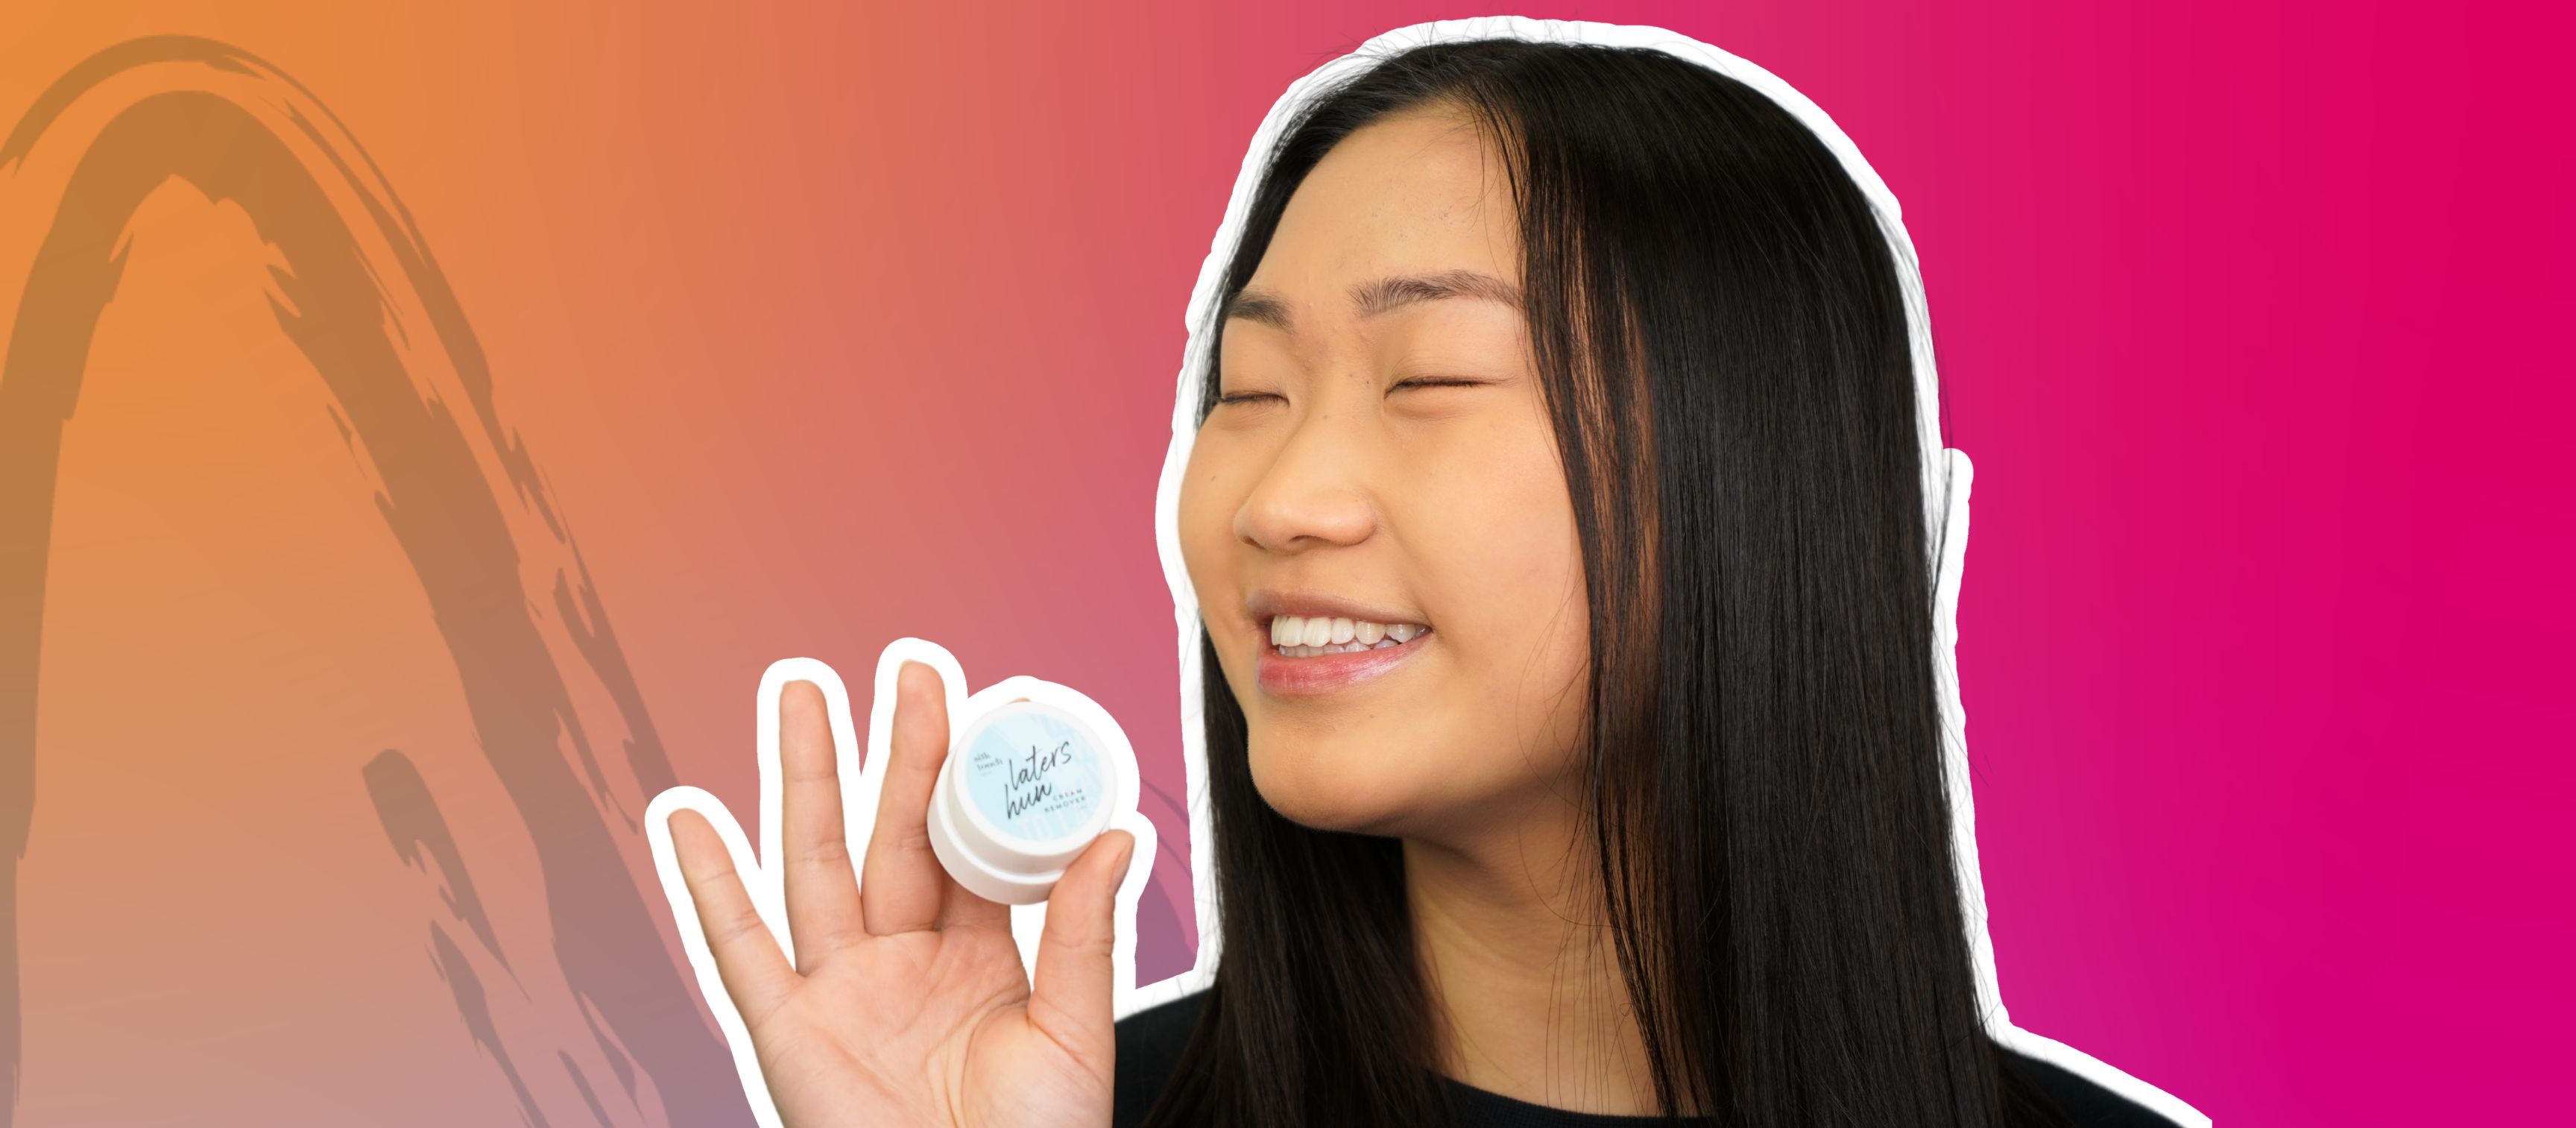
There are two main types: cream-based and gel-based. Cream removers are faster and gentler, while gel removers can be easier to control during application. Whichever type you choose, make sure it's from a reputable brand designed for use near the eyes, like Silk Touch Lashes' very own Cream Remover which is ocean-scented for a spa-like feel without any chemical smells..
Cotton pads
Opt for soft, lint-free cotton pads to use during the removal process. These are gentle on the eyes and won't leave behind fibres that could irritate the eye or interfere with the lash extension removal.
Ensuring you have the correct tools to remove your client's eyelash extensions is crucial for a quick removal process. Simply ensure you have your lash extension remover and cotton pads and are ready to go. Follow the below step-by-step guide to get started.
Apply the Lash Extension Remover
Apply a small amount of lash extension remover against the base of the lash extensions using a micro applicator. You want to cover the entire area where the extensions have bonded with your client's natural lashes, including trying to get the cream in between the lashes themselves so they don't stick. But be careful not to get any on your client's eyes or skin to avoid irritation.
Leave the remover in place for a few minutes before you check and try to remove the lash extensions. With our ocean-scented cream remover, we recommend between 5-7 minutes.
Wait and Check
After you've waited the recommended amount of time, lightly try to push the extensions off with an applicator tool to see if they're starting to come loose. They should slide off easily with light pressure. If they're still firmly attached, do not try to tug or pull the lash extension off; reapply the lash extension remover and wait a little longer, checking periodically.
Gently Remove the Extensions
Once the lash extensions have loosened, use a new, clean lash applicator to help push them and remove them gently. Move slowly to avoid pulling on your client's natural lashes, which can cause them to come out. For more stubborn extensions, carefully use tweezers to remove them using the banana peeling technique (as the name suggests, you simply gently peel back the extension from the natural lash, mimicking the motion of peeling a banana.) As you remove your clients' lash extensions, patience is key to preserving the health of the natural lashes below. Once the lash extensions have been removed, use a clean cotton pad to remove the excess lash remover, and once the area has been cleaned with sterilised water, dry the area gently.
Cleanse and Moisturise
After removing all extensions, cleanse the eye area with sterilised water to remove any residue from the remover products.
Once your client’s eyes are clean, apply a gentle, oil-free moisturiser around the eyes to hydrate the skin and soothe any irritation that may have occurred during the removal process.
And voila, there you have it: a quick and easy step-by-step guide to removing your client's lashes.
Avoid Harsh Chemicals
Avoiding harsh chemicals is key to ensuring your client's eyes are left irritant-free and the natural lashes remain healthy. We have designed our Cream Remover as the ultimate solution for gentle and efficient eyelash extension removal without the nasty chemicals that can cause harm or irritation.
The cream remover is applied to the lashes, working quickly to loosen the glue crystals, allowing you to remove the lash extension in 5 minutes. Indeed, it is a must-have tool for lash artists.
Conclusion
Remember, safely removing lash extensions requires a steady hand, the correct products and patience. The key is to be gentle throughout the process to protect your client’s natural lashes and the sensitive skin around their eyes.
If you have any questions about lash extension removal, do not hesitate to slide into our DMs; at Silk Touch Lashes, we want to see you succeed and offer lash tech support as they build their confidence, whether they have trained at the Silk Touch Lash Academy or not.
